JUMP START YOUR ID TECH AUGUSTA
Overview
Congratulations on your brand new ID Tech Augusta- you'll be up and running in no time! Below you will find our simple 4 step user guide to installing your terminal on Chrome/Internet Explorer, a glossary of relevant terms, a labelled picture of your device, and a links to our troubleshooting and FAQ guides. If at any point you need help, don't hesitate to contact us by email at support@cmsonline.com or call us by phone at 801.623.4000
So let's get started!
Relevant Terms
- Terminal ~ This is credit-card-processor jargon for your ID Tech Augusta (and any other credit card swiper for that matter)
- Terminal Integration Service ~ This is the software that connects your terminal to the internet
- EMV ~ Europay, Mastercard, Visa. This is the "chip" on your credit card.
- Plugin ~ This is the term we use to describe the web application that loads upon a payment processing request
- Point of Sale ~ This is where your credit card transactions will take place. At the grocery store, this is the register.
- On Amazon this is the "checkout shopping cart" function.

Step 1: Download and Install
Download and install the Terminal Integration Service which can be found by clicking here.

Don't un-box your terminal just yet (but if you already did, just don't connect it to your computer).
Step 2: Import Certificate
Firefox does things slightly different than Internet Explorer and Chrome, just follow these steps and you will be able to use our
payment plugin just as Chrome/Explorer:
- In the Firefox settings menu, click on Options

Click on Privacy & Security, click Certificates. Then click View Certificates. 
- Click on Authorities and click Import.

- Select the ca.crt in the CMS Terminal Integration Service folder and click Open.

- Check the boxes to trust the certificate and click OK.

- Once imported, click OK to finish
Step 3: Reboot Computer
Restart your computer. We know that it is a hassle, but rebooting your computer will avoid all kinds of un-necessary trouble, not just with our Terminal Integration Service,
but with all software installed on your computer (why rebooting daily is a good idea). Just trust us and restart your computer. You won't regret it!
Step 4: Load Plugin and Start Processing!
After completing installation and restarting your computer, you are ready to start processing!
Follow these steps to start processing
1.) Clear your cookies! (What are cookies??)
Chrome: https://support.google.com/accounts/answer/32050?co=GENIE.Platform%3DDesktop&hl=en
Internet Explorer: https://kb.wisc.edu/helpdesk/page.php?id=12314
Microsoft Edge: http://www.thewindowsclub.com/delete-browsing-history-cookies-data-edge
2.) Make sure to connect your terminal to the USB port before you open the point of sale.
3.) Open your point of sale
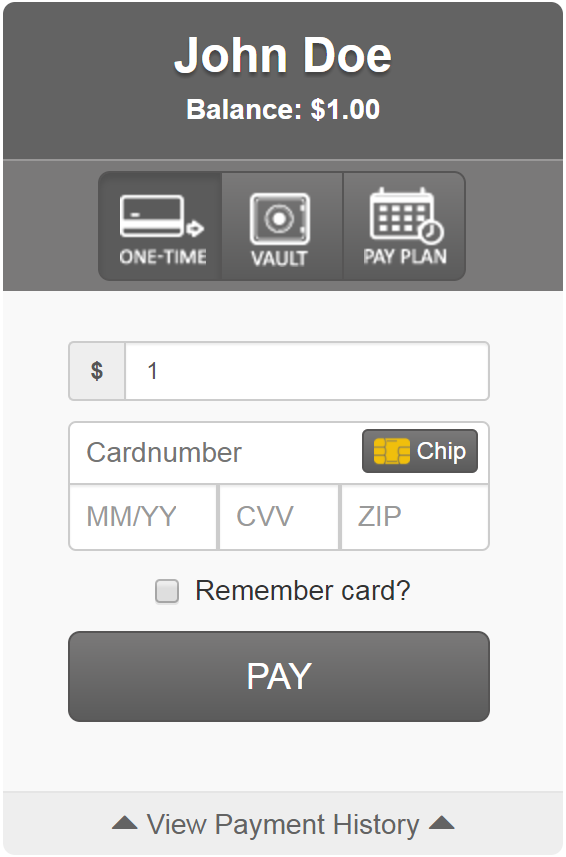
4.) Once you are connected, it may take a second for the plugin to load, but when it is ready the chip icon will darken. Press the chip icon and the plugin will be ready to process a transaction!